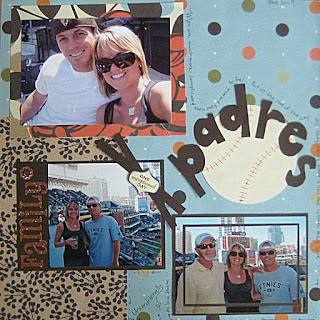
 The beginner kit that I bought included some fun stickers (see the "family" sticker). I really wanted this sticker to stand out on the page, but it sorta blended in with the other colors that were on the background and block papers. So I decided to extend the dark brown photo mat on one side in order to accomodate the sticker... easy, but so effective!
The next border I did was a little trickier. Now normally, I don't measure my photo mats to precisely fit the photo -- I'm just not that patient. "Eyeing" it usually works just fine. But for this mat, I had to measure because I was actually cutting the photo. Here are the steps:
1. Measure 1/2" around all sides of the photo and draw a connecting line on the back of the photo (ends up looking like a box).
2. Measure another 1/8" from where the line is towards the middle of the photo and draw another line (now you've got one box inside the other).
3. The space you have between the two boxes is what you'll be cutting out.
4. Use your trimmer to cut on the lines - being extra careful to keep the outer border in tact.
5. Select how much of the mat you'd like to extend beyond the photo (then trim the mat accordingly) and use your glue dots to stick in place. Tada!
5. Select how much of the mat you'd like to extend beyond the photo (then trim the mat accordingly) and use your glue dots to stick in place. Tada!
6. If you are a measurer by nature, follow this link for some fantastic tips: http://scrapbookingforbusymoms.blogspot.com/
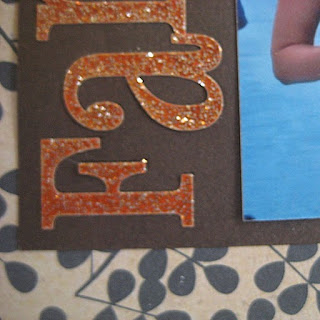
Finish up the page with some "home-grown" embellishments -- like having your artistically-inclined boyfriend draw a baseball for you, hand-drawing bubble letters old-school style and cutting them out (yes, I know some of the pen lines are visible), and use that left over brown mat paper to make a cute "x" shape behind a pre-cut dimensional sticker.


Novice tip: Many of the other fabulous blogs out there are for more advanced scrappers who have invested quite a bit of money into die-cut machines and the like. For us novices, if we hone in on some of those scissoring and lettering techniques we learned in grade school, we can actually end up with some pretty cool looking layouts... and for a fraction of the price. Being the impatient Aries that I am (year of the Rooster, too... I'm doomed), I'm always in a hurry to have all the "stuff" needed for decadent layouts. But I think any scrapper would agree, using whatcha got aint all that bad either!
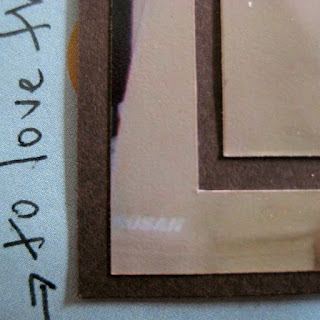
Another novice tip: Journalling doesn't have to take place in a conventional box. On this page, I scrawled some thoughts and wrapped them all around the page.
Wow! So pretty!!! Love the finished page!
ReplyDeleteWhat a fantastic layout and great advice! Super!
ReplyDeleteI love the journaling too!