Today I want to tell you about the great world of negative space. As scrappers, we are so often piling on embellishments to add dimension. But dimension can also be added by taking some stuff away. This is sounding a little like a math tutorial, but hang in there. In this layout, I cut out a large heart from my main 12x12 page and put a smaller dark piece of paper behind the cutout. I guess I could have just put a heart on top of the paper, but then I'd have nothing new to blog about. So here's the finished product:

The first thing you need to do is really, really, really plan your layout first. You don't want to cut a huge hole out of your main page and then have to throw it out because the hole is in the wrong spot. Once you've got your layout planned, lay each of your pictures down (but don't adhere yet) and lay your stencil down on top (even if it overlaps the pictures). Use a pencil to lightly add a few tick marks to where your cutout will be (on the heart, I marked the point at the bottom and the two places where the curves were widest). Once you've made your markings, remove the unadhered pictures and lay your stencil back down and cut out your shape. I suggest you cut the shape out before adhering everything else so that the only thing that will go to waste if you mess up is the blank 12x12 paper.
If you want to get fancy schmancy, and risk becoming a nine-fingered scrapper, you can sew a grid pattern onto the paper you are using to fill the negative space. Do the sewing first (before you attach it to the 12x12), and also be sure to trace your shape (using the same stencil, of course) prior to sewing, so that you are sure to sew a large enough grid pattern. Adhere it to the backside of the 12x12 and see your negative space now filled with an awesome pattern.
I also did some slight inking around the edges of the heart. It occurs to me now that it looks like it's bleeding, but oh well.... Hopefully some gore will be good for ratings.
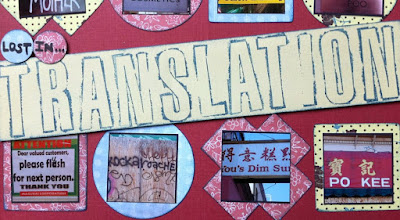
Here are a few other features of this layout. I combined both text and pictures for the title. No, no, the title isn't "I Left My In" - although that would make perfect sense - the title is "I Left My Heart In San Francisco".

Matthew and I took a trip to San Francisco and Napa Valley as a joint celebration for our 1 year anniversary and his sister's big 3-0 birthday. What an amazing trip! The sun seemed to follow us everywhere we went and I'll do a future post showing more pictures of the Napa portion of the trip.
I spent a LOT of time on this layout and even hand sewed the buttons on top of the butterfly (courtesy of the fantabulous punches from Marsha) and hand sewed a button on top of a paper flower on top of another button. The time spent doing these things was definitely worth it... and I'm finding that some layouts require a bit more TLC than others.


I also used a border punch on the side of the bottom picture and sneakily made a pocket behind the picture so that I could insert the anniversary card that my sweetie gave me.

Truth be told, this layout probably took me about four hours. Time consuming, yes, but hey, it's not like I have any cooking or cleaning or gardening or random-other-non-scrapbooking-chores to do, right? Let's get our priorities straight here, please.